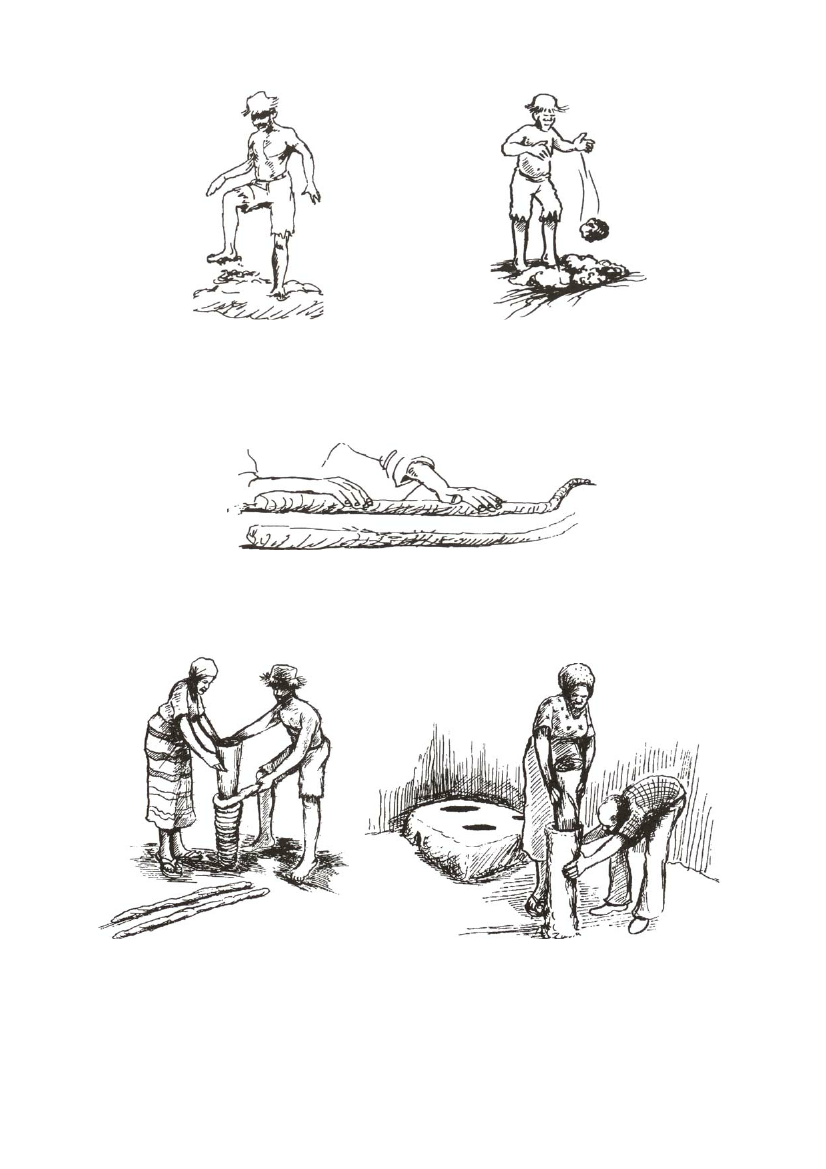
Figure A1.4 Mixing clay with water
Figure A1.5 Pasting mud on the grass
3. Roll the mud and grass tightly to form long pieces of mud moulds. Make enough pieces for
making a chimney.
4. Use a piece of wood or metal (in Uganda banana stems are used for this purpose) of the
correct diameter (equal to the length of the middle finger) as the mould for making.
5. Wet the banana stem and wind the mud rolls round the stem firmly to the required height.
Figure A1.6 Forming long pieces of mud moulds
6. Carefully twist the stem upwards to form a mud pipe. This is usually done about two hours
later.
7. Secure the chimney firmly onto the stove.
8. Let it dry for about two weeks before use.
Figure A1.7 Winding the mud rolls around the stem
Figure A1.8 Removing the stem from the mud pipe
Some promoters make the chimney pipe separately from the other part of the stove an after the mud
pipe is dry enough it is installed onto the stove. Other prom9oters make the chimney together with the
rest of the stove. It is argued by the former that if the stove and the chimney are built at the same time,
the chimney tends to lose shape as it is not dry and strong enough to hold its own weight. This may
however be rectified if the chimney is made in phases over a period of one week.
35